After years of using Potable Aqua iodine tablets (see how my Platypus is stained yellow?) and the citric acid neutralizers, I’ve recently made the switch to filtration using a Sawyer 3-way filter inline on my Platypus hydration system. I’ve never been a fan of water filters, what with the annoying pumping and the heavy weight for pump style or the long wait times for gravity filters and just the fussiness and all. But last year I became intrigued by the filters that Sawyer was putting out. They were exceptionally lightweight and filtered quickly. They got rid of more nasties than my iodine and didn’t alter the taste of the water to boot. I impulse-bought a Sawyer Squeeze and promptly left it in my gear storage area, unopened. It languished there because I read reviews of bags bursting and the more I thought about it, the more it seemed to share many annoyances of previous generations of filters: fussiness, tedium, clean/dirty things to keep separate, etc.
When I upgraded my old CamelBak to a new Platypus Big Zip LP reservoir this year, I stopped for a moment to contemplate my hydration system. The hot new thing this year is the Sawyer MINI, essentially a smaller, lighter, and weaker version of the old Sawyer Squeeze. I looked into it, read blog posts about using it inline, and generally hemmed and hawed. I liked the price, the weight, and the ease of using it inline with a hydration pack, but I didn’t like the weakness of the filter (lasts 1/10th as long as the Squeeze) and I worried about the fit of the push connections.
I decided to give filtration a go, however, and settled on using the Sawyer 3-way inline with my Platypus reservoir. I chose the more expensive 3-way mostly because of the quick-connect links and lifespan. It is rated to 1 million gallons (as opposed to the 100,000 gallons of the MINI) and comes with the quicklink hose attachments factory installed on the filter. I liked the idea of being able to disassemble my entire system to really clean and back flush well at the end of any trip, as well as the adaptability of being able to easily convert my system into a gravity filter without fussing with the mouthpiece on my hose. Another advantage of this system is the ability to leave the filter behind when carrying water on a dayhike: simply remove the filter and click together the quicklink connections left behind!
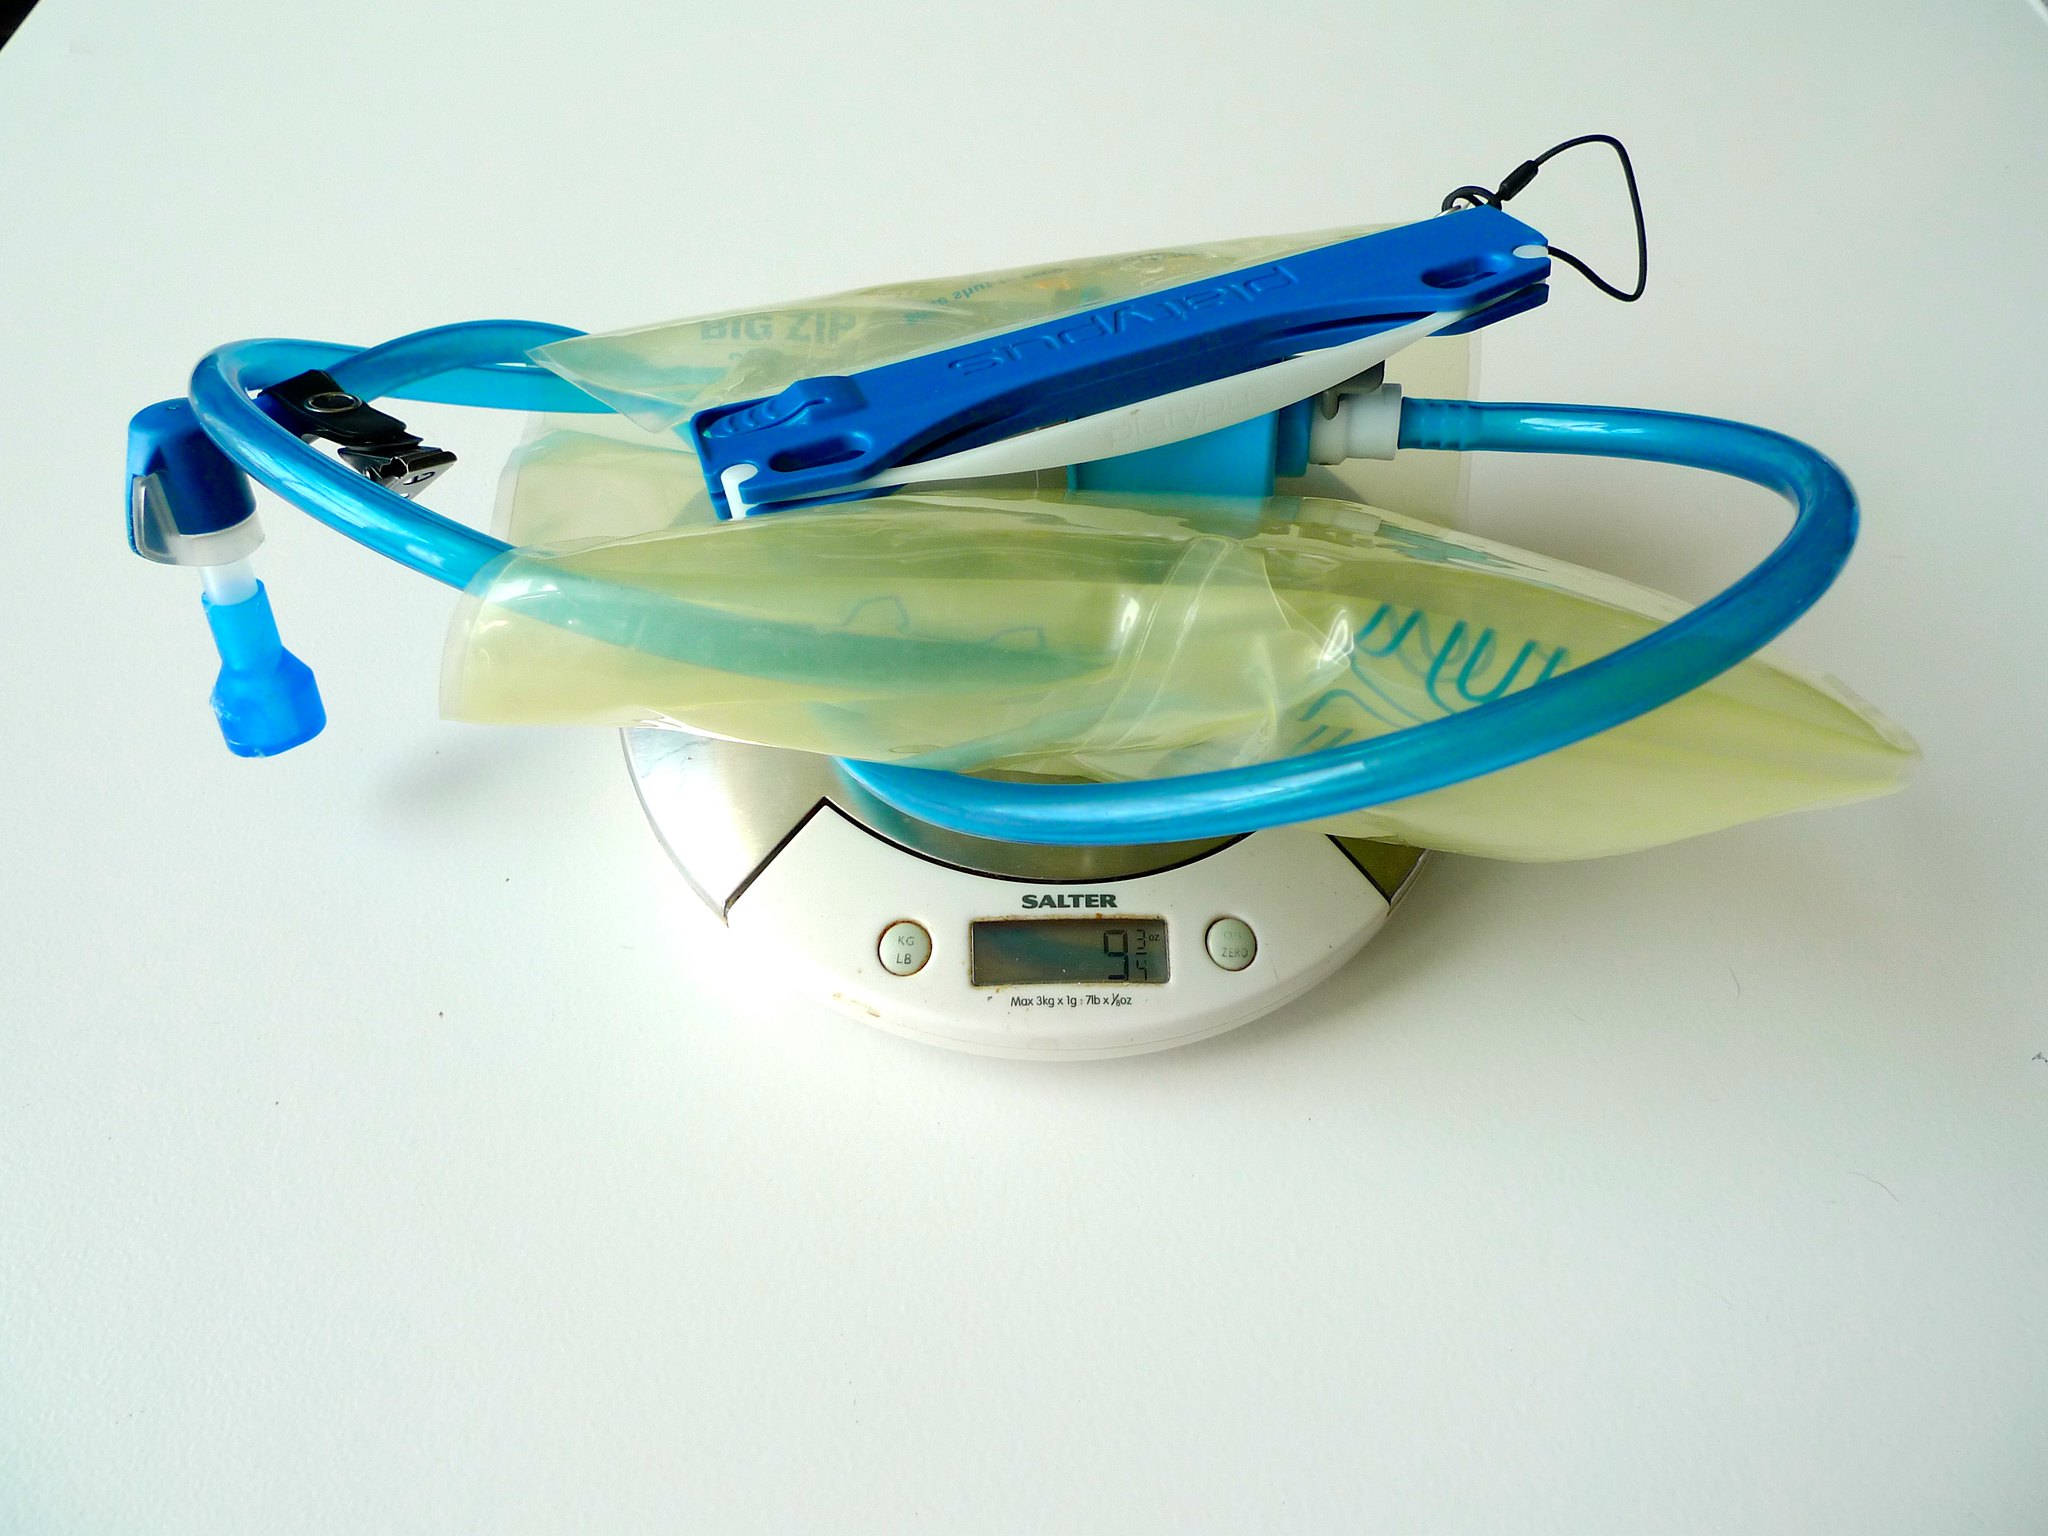
Last week I installed the filter and made some measurements and did a quick speed test. The filter alone weighs 2.75oz (79g) dry straight out of the box. This isn’t a realistic carry weight, though, because it will never ever be carried dry. I filtered a few liters of water through it to prime it and then shook the water out and weighed it again; it came in at 3.625oz (105g). The measured weight of the male and female quicklink adapters I’d need for installation is 0.25oz (6g).
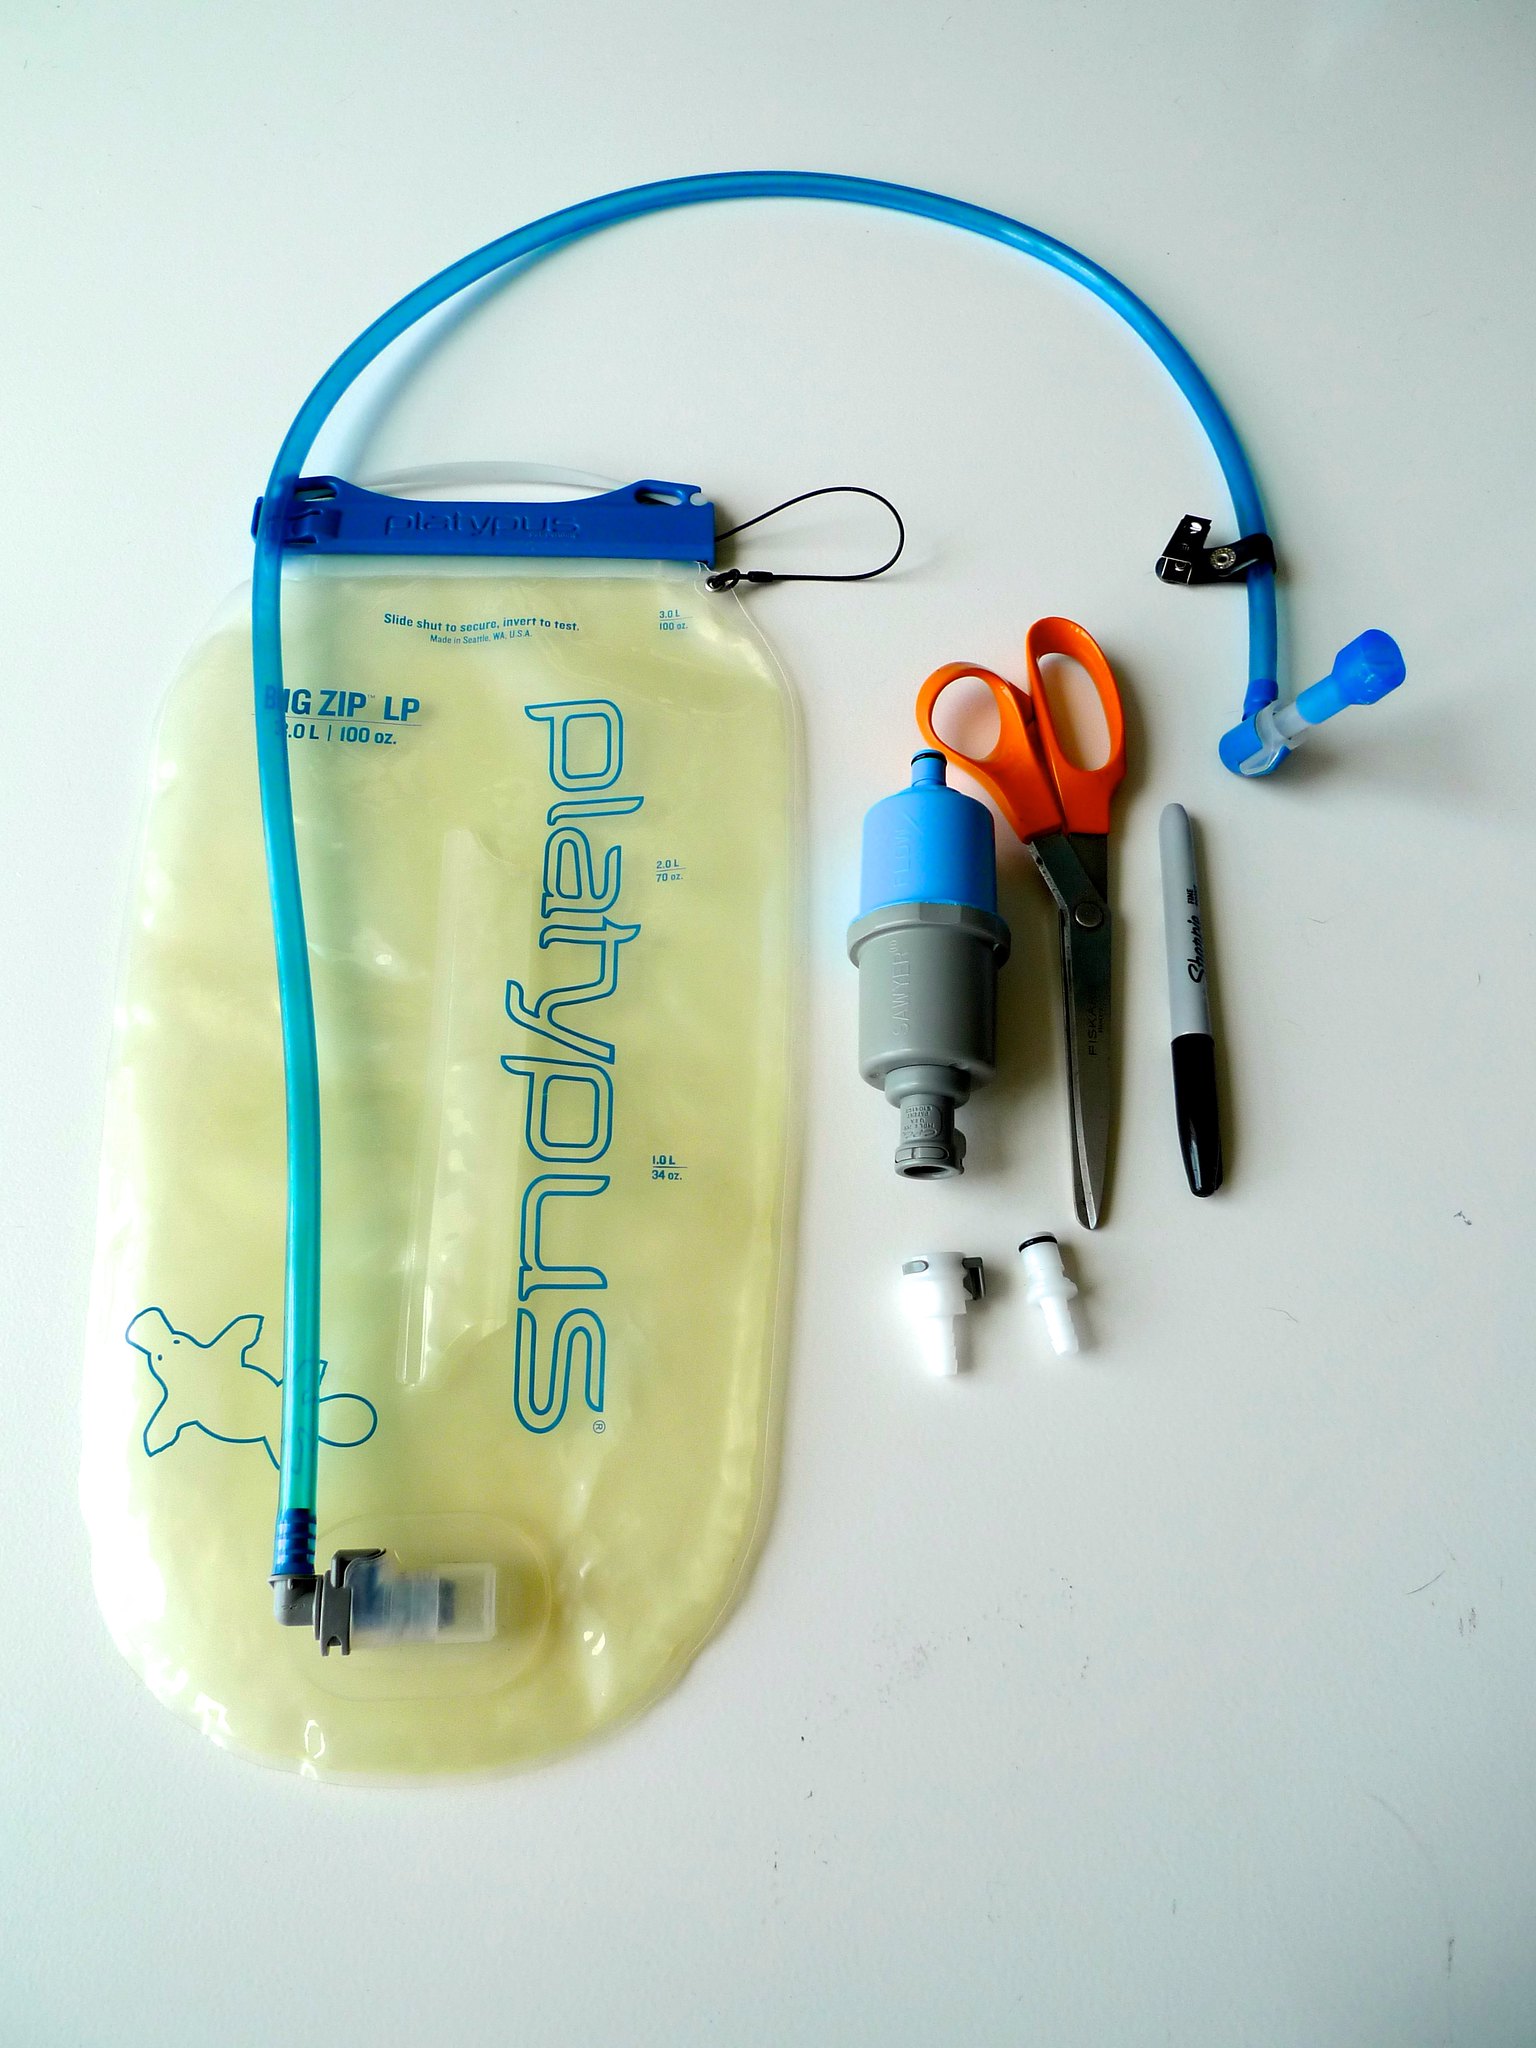
Next, I installed the Sawyer 3-way inline filter on my Platypus Big Zip LP reservoir. If you want to do the same, you’ll need the 3-way filter, your reservoir, scissors, a sharpie, and a set of male and female quicklink hose adapters (which are included in the box when you buy the 3-way filter).
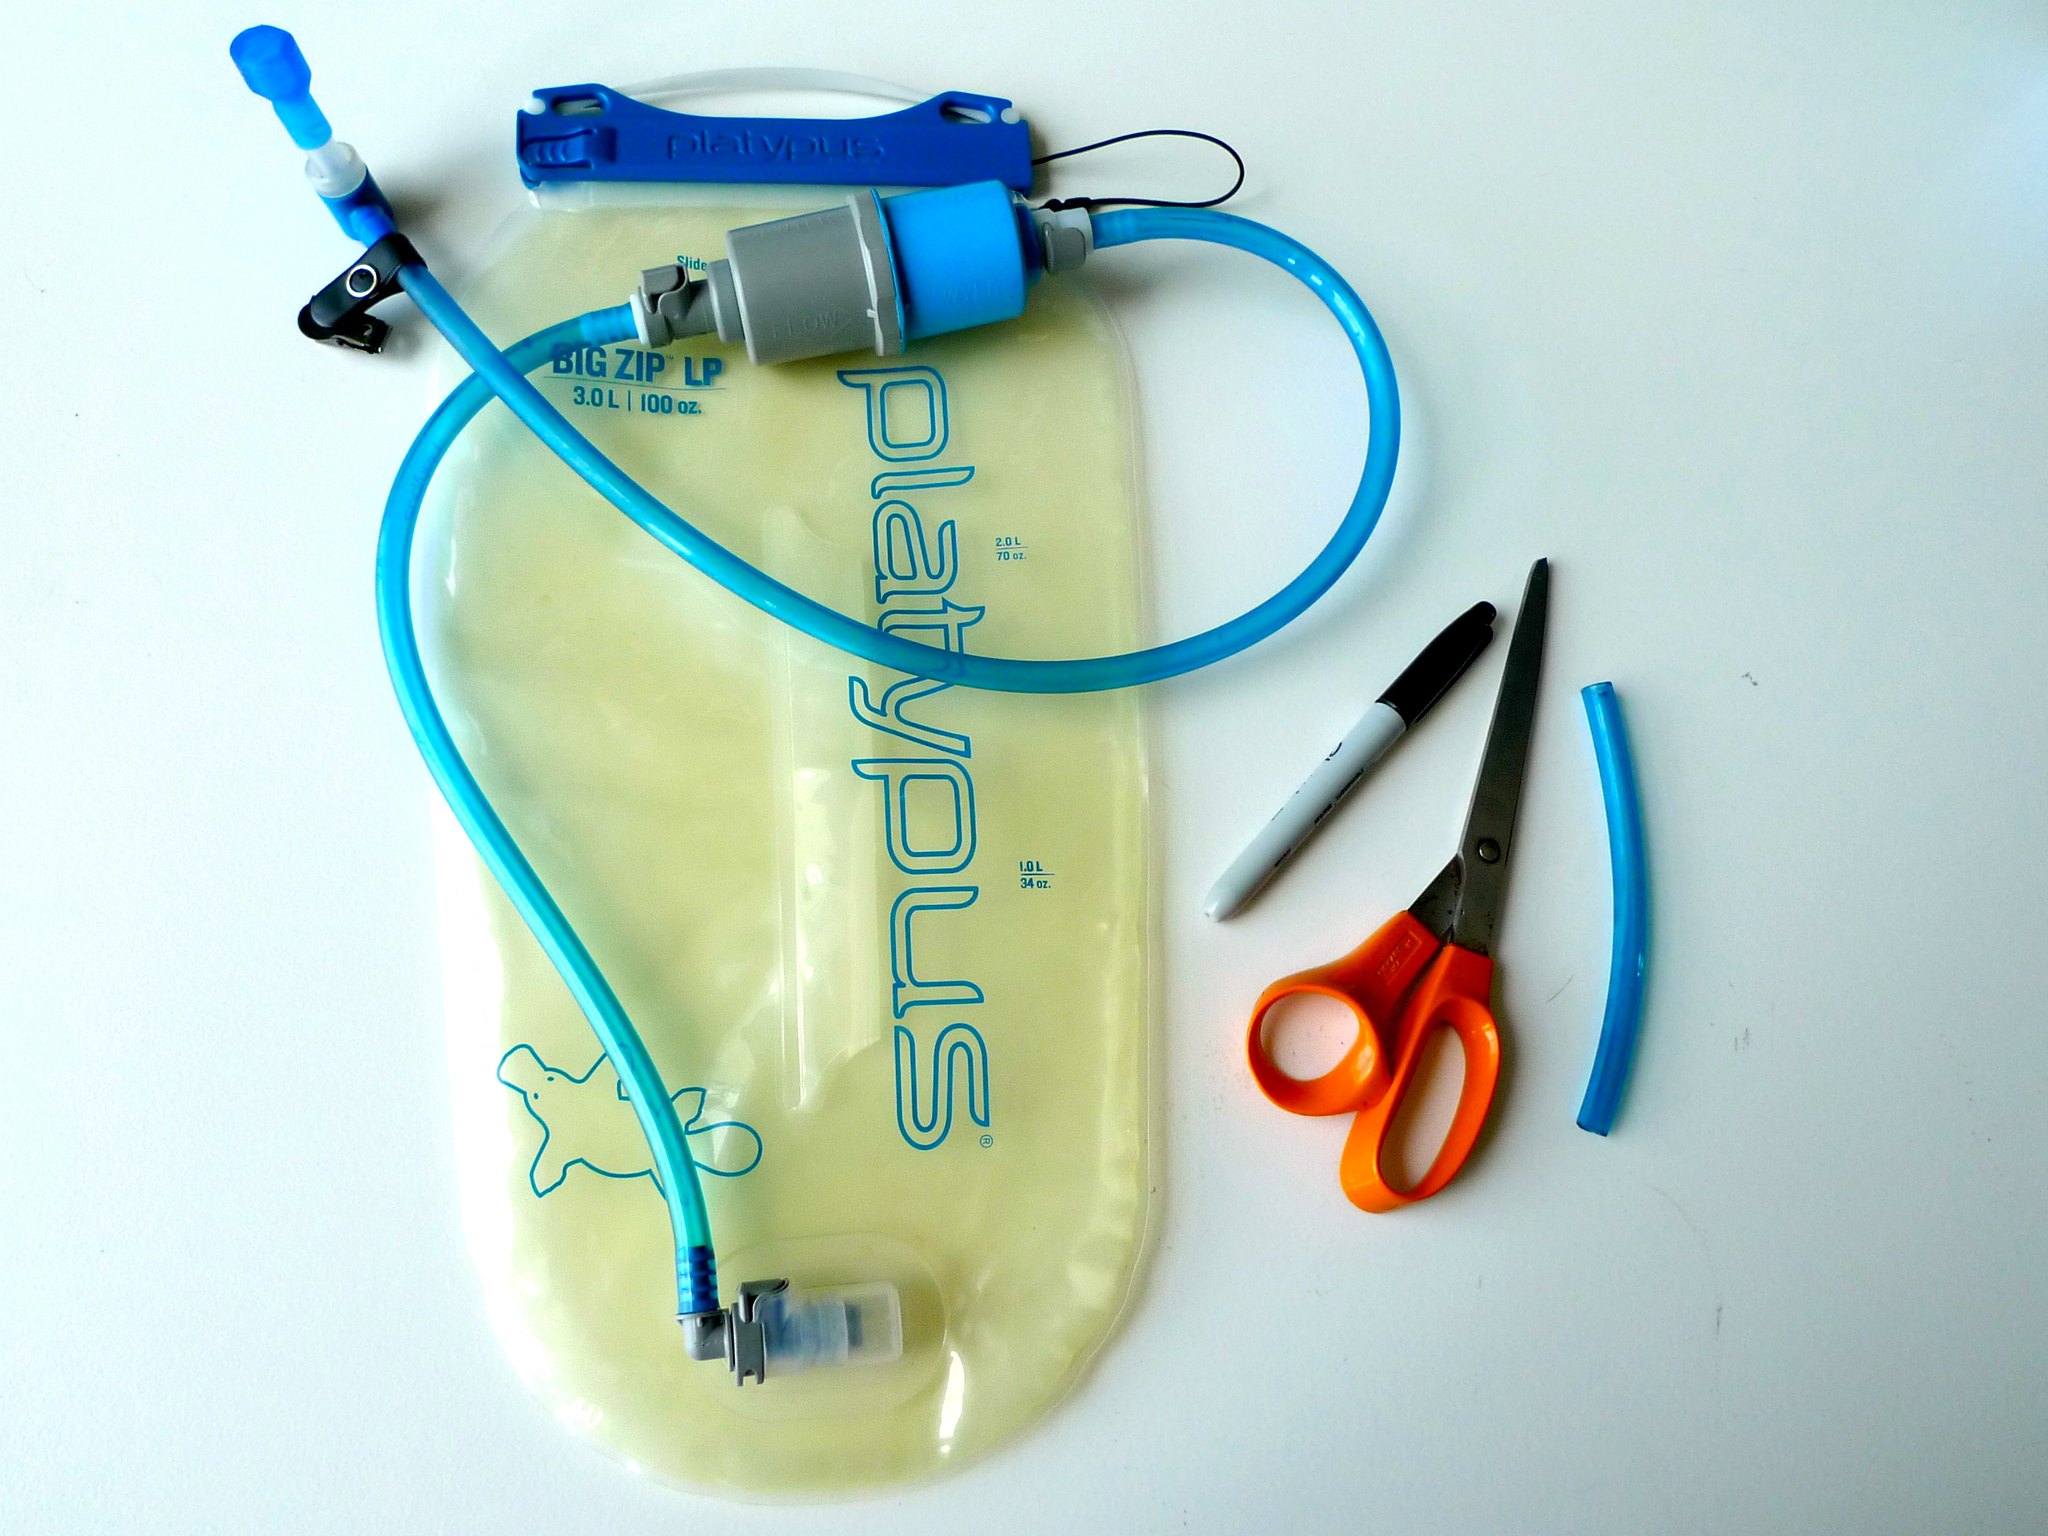
Installation is very straightforward. First, lay out the reservoir and hold the filter on the hose where you would like to position it. I decided to put mine so that it would sit inside my pack near the top of the reservoir. Use a sharpie to mark the spots to cut at the beginning and end of the filter. Next, make your cuts. Now it’s time to install the male and female quicklink adapters. Looking at the Sawyer 3-way, there is an arrow that indicates the direction that water should flow through the filter. Gray is dirty water and blue is clean water. Notice also that the gray end of the filter is female and the blue end is male, so install the male quicklink adapter on the part of hose that connects to the reservoir and install the female quicklink adapter on the part of the hose that connects to the mouthpiece. To install these adapters, just push firmly. For extra security, mini zip ties could be added, but my connections seemed very secure already, so I skipped the extra security. Finally, clip in the filter and you’re done!
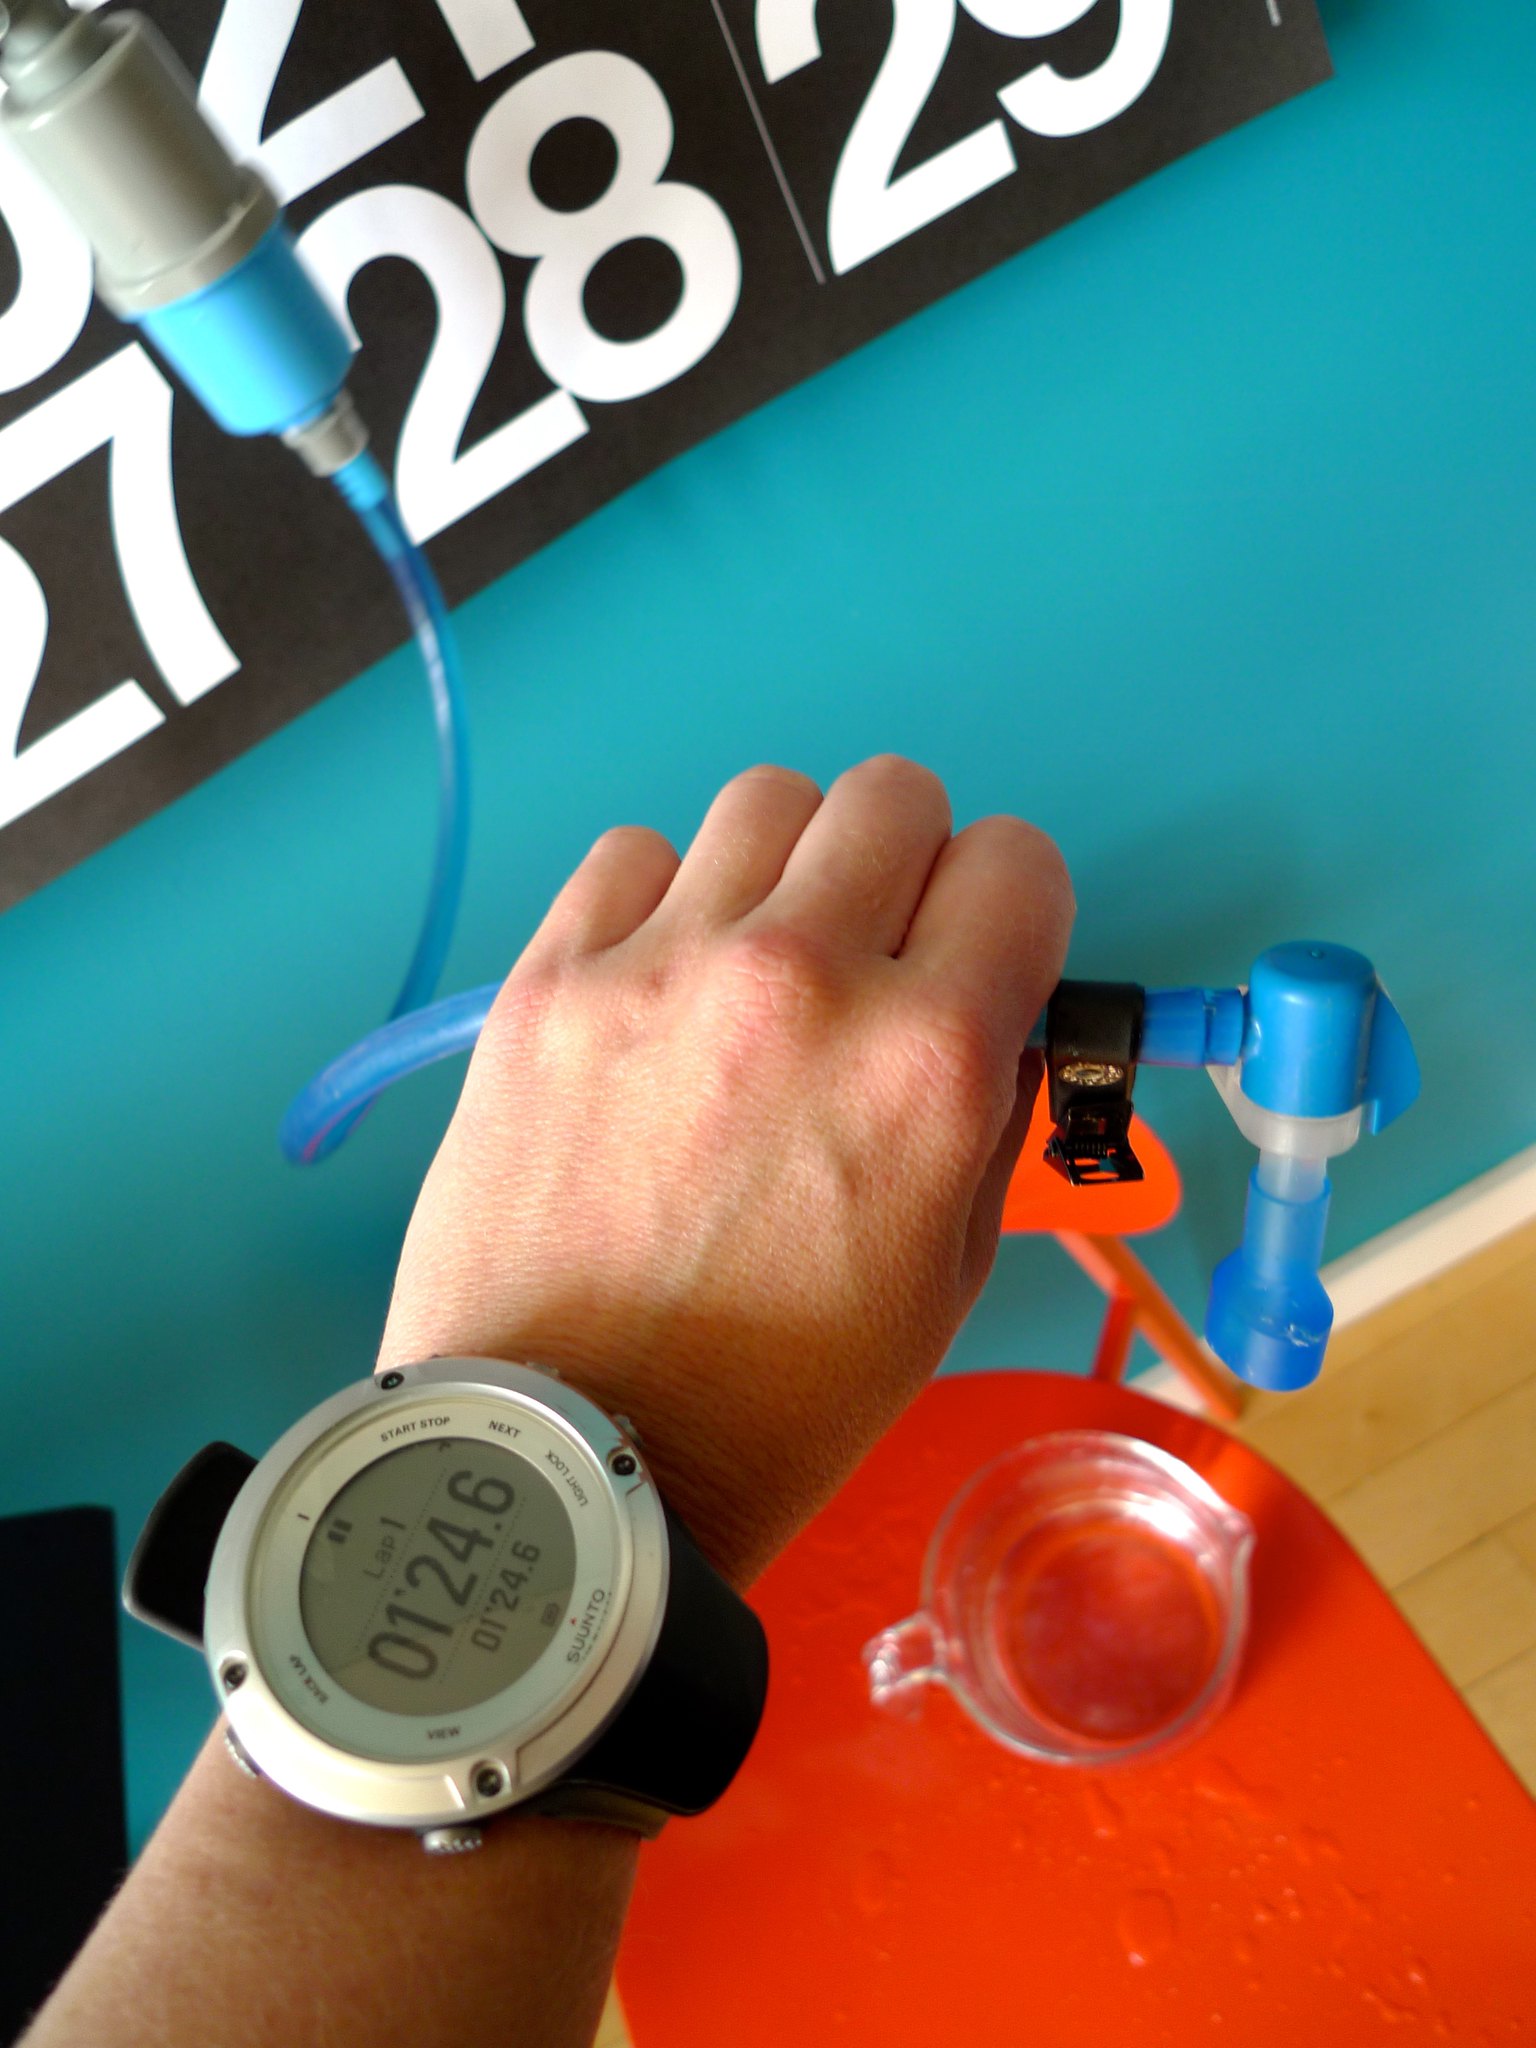
I decided to test the flow rate of the system when using as a gravity filter, so I filled the reservoir with 2 liters of tap water and measured how long it took to filter out 1 liter: 1 min 24 seconds. Pretty quick!
I will be carrying this system in the field for the first time on a 5 day trip in Yosemite. I’ll update this post with how it works out!
Update: Since the hydration exit port on my Granite Gear Leopard Ki is in the middle of the pack rather than on one of the sides, having the filter at the top of the bladder creates a couple unnecessary and tight bends which can kink the hose. I got a new hose and repositioned the filter to be vertical and alongside the reservoir. This works much better! So, when deciding where to place the filter inline, I highly recommend carefully considering the final routing of the tubing in your pack.

Wow just found your blog – love it! Are you still using this set up or what’s your current fav? I’ve been doing the platy gravity filter but its not inline while hiking so I have to stop and filter
yes!